| As with most open-source applications, installing MySQL is straightforward on every popular Unix platform (including Fedora Core, FreeBSD, and Mac OS X). A GUI-based installer makes it easy to install and configure MySQL on your Windows-based Cygwin system. To install MySQL (Fedora Core) We'll use the up2date command to install a binary package for MySQL (Code Listing 10.1) from the Fedora repositories. 1. | Log in as root, or use su to become root.
| 2. | up2date --install mysql mysql-server
Download and install the MySQL client applications and the MySQL server.
| 3. | service mysqld start
Initialize and start the MySQL database server.
| 4. | chkconfig mysqld on
Tell the system to start MySQL when rebooting.
| 5. | mysqladmin -u root password  'new-password' 'new-password'
Change the MySQL root user's password to new-password. Note that MySQL users are separate from your operating-system users.
| 6. | mysqladmin -u root -h $(hostname) password 'new-password'
MySQL also has a second root account for access from the local host's hostname or IP address. Here the hostname command is called, and its output is used as the -h argument. Again, we set the root user's password to new-password.
|
Code listing 10.1. Installing MySQL with up2date on a Fedora Core system. [root@dhcppc1 ~]# up2date --install mysql mysql-server . . . [root@dhcppc1 ~]# service mysqld start Initializing MySQL database: [OK] Starting MySQL: [OK] [root@dhcppc1 ~]# chkconfig mysqld on [root@dhcppc1 ~]# mysqladmin -u root password 'new-password' [root@dhcppc1 ~]# mysqladmin -u root -h $(hostname) password 'new-password'
To install MySQL (FreeBSD) Installing MySQL through the FreeBSD ports system (Code Listing 10.2) gives you a choice of MySQL versions; we'll go with the current 4.1 version. 1. | Log in as root, or use su to become root.
| 2. |
cd /usr/ports/databases/ mysql-41-server
Change to the MySQL 4.1 directory in the ports collection.
Code listing 10.2. Installing MySQL from the ports collection on FreeBSD. [View full width] bsd# cd /usr/ports/databases/mysql-41-server bsd# make WITH_CHARSET=utf8 install clean . . . bsd# cd ../mysql-41-client bsd# make WITH_CHARSET=utf8 install clean . . . For more information, and contact details about the security status of this software, see  the following Webpage: http://www.mysql.com/ ===> Cleaning for mysql-client-5.0.1 ===> Cleaning for libtool-1.5.10 ===> Cleaning for mysql-server-5.0.1 bsd# echo 'mysql_enable="YES"' >> /etc/rc.conf bsd# /usr/local/etc/rc.d/mysql-server.sh start Starting mysql. bsd# mysqladmin -u root password 'new-password' bsd# mysqladmin -u root -h bsd.chrish.local password 'new-password' the following Webpage: http://www.mysql.com/ ===> Cleaning for mysql-client-5.0.1 ===> Cleaning for libtool-1.5.10 ===> Cleaning for mysql-server-5.0.1 bsd# echo 'mysql_enable="YES"' >> /etc/rc.conf bsd# /usr/local/etc/rc.d/mysql-server.sh start Starting mysql. bsd# mysqladmin -u root password 'new-password' bsd# mysqladmin -u root -h bsd.chrish.local password 'new-password'
| 3. | make WITH_CHARSET=utf8 install clean
Install the MySQL server and its dependencies, including the MySQL client applications. The WITH_CHARSET=utf8 argument tells the ports system to build MySQL with UTF-8 as its default character set. This lets it work with data in any language without introducing much overhead (if any).
| 4. | Use your favorite text editor to edit /etc/rc.conf.
| 5. | Add the following line to the rc.conf file:
mysql_enable="YES"
| 6. | Save the rc.conf file and exit your editor.
| 7. |
/usr/local/etc/rc.d/mysql-server.sh start
Start the newly installed MySQL server.
| 8. |
mysqladmin -u root password 'new-password'
Change the MySQL root user's password to new-password. Note that MySQL users are separate from your operating-system users.
| 9. | mysqladmin -u root -h $(hostname) password 'new-password'
MySQL also has a second root account for access from the local host's hostname or IP address. Here the hostname command is called (because it's surrounded by backticks), and its output is used as the -h argument. Again, we set the root user's password to new-password.
|
To install MySQL (Cygwin) We're going to install MySQL as a native Windows service for best performance (and to make the installation easier). 1. | Use your favorite Web browser to visit the MySQL 4.1 Downloads page (http://dev.mysql.com/downloads/mysql/4.1.html).
| 2. | On the downloads page, scroll down to the Windows section, then click "Pick a mirror" in the Windows (x86) column.
| 3. | On the mirror-site page, you can fill out the survey or click the "No thanks, just take me to the downloads!" link (or just scroll down the page).
| 4. | Click the "HTTP" or "FTP" link next to a mirror that's close to you; as always, with mirrors you can't choose wrong.
| 5. | Save the file (mysql-4.1.7-win.zip) to disk.
| 6. | Double-click the MySQL archive file to open it.
If you're not using Windows XP, use your favorite ZIP file extractor, such as Info-ZIP's free Zip and UnZip tools (www.info-zip.org).
| 7. | Double-click the MySQL Setup program icon inside the ZIP file to launch the installer (Figure 10.1). Click Next to continue.
Figure 10.1. The MySQL installation wizard. 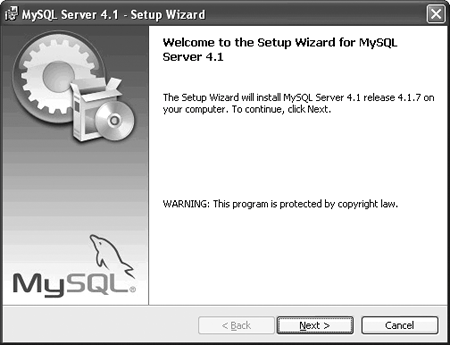
| 8. | In the Setup Type pane (Figure 10.2), choose Typical (the default) or Complete (which includes a Windows GUI for administering MySQL, as well as development headers and libraries). Click Next to continue.
Figure 10.2. Choosing a setup type in the MySQL installation wizard. 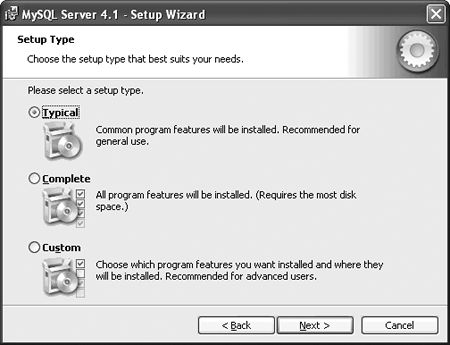
| 9. | In the Ready to Install the Program pane (Figure 10.3), review the installation settings, then click Install to continue.
Figure 10.3. Reviewing installation settings in the MySQL installation wizard. 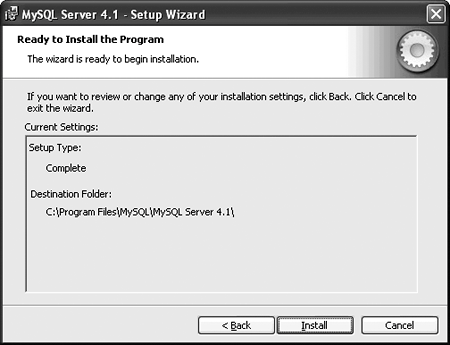
| 10. | In the MySQL.com Sign-Up pane (Figure 10.4), you can choose to log in to an existing MySQL.com account, create a new account, or skip signing up.
Figure 10.4. The MySQL.com Sign-Up pane in the MySQL installation wizard.
Having a MySQL.com account lets you subscribe to the monthly MySQL newsletter, add comments to the MySQL online manuals, and report bugs using the bug tracker at MySQL.com.
| 11. | Click Next to continue.
| 12. | In the Wizard Completed pane that appears, leave the "Configure the
| MySQL Server now" box checked, then click Finish (Figure 10.5).
Figure 10.5. Finished with the MySQL installation wizard. 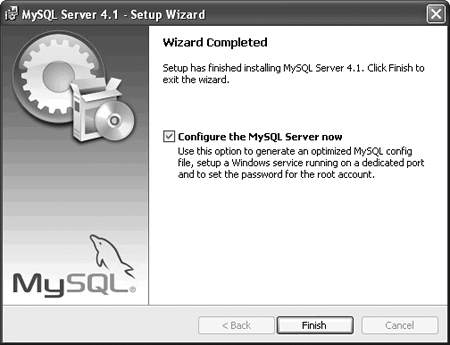
When the installation finishes, the MySQL Server Instance Configuration Wizard appears to lead you through the next task.
|
To configure MySQL (Cygwin) Now let's move on to the configuration. 1. | In the MySQL Server Instance Configuration Wizard (Figure 10.6), click Next to continue.
Figure 10.6. The opening pane of the MySQL Server Instance Configuration Wizard. 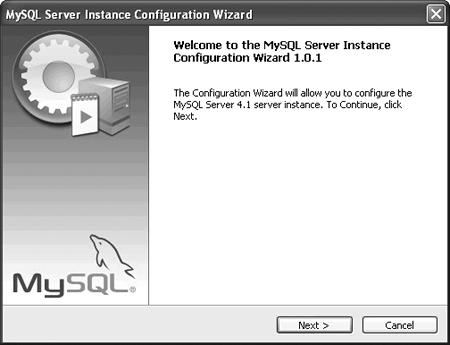
| 2. | In the MySQL Server Instance Configuration pane that appears, select Detailed Configuration (the default configuration type) and click Next to continue (Figure 10.7).
Figure 10.7. Selecting a configuration type. 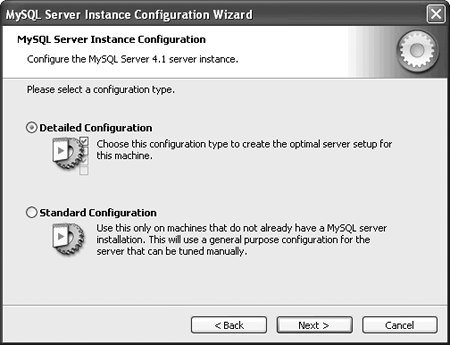
| 3. | In the next pane, select a server type and click Next to continue (Figure 10.8).
Figure 10.8. Choosing a server type. 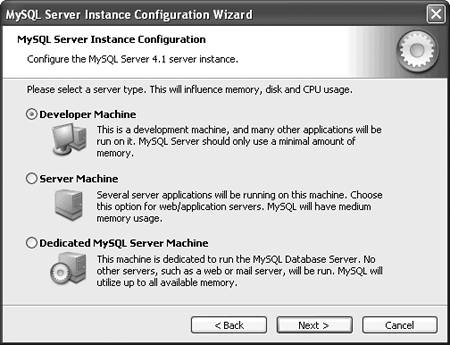
Choose the default option, Developer Machine, unless your system is a Server Machine or a Dedicated MySQL Server Machine.
| 4. | In the next pane, select the type of database usage and click Next to continue (Figure 10.9).
Figure 10.9. Choosing a database type. 
Choose Multifunctional Database (the default), Transactional Database Only, or Non-Transactional Database Only, depending on your needs. If you don't know, go with the default.
| 5. | In the next pane, choose a location for the InnoDB database files, or if you want to place them in the default location, simply click Next to continue (Figure 10.10).
Figure 10.10. Choosing a location for the InnoDB database files. 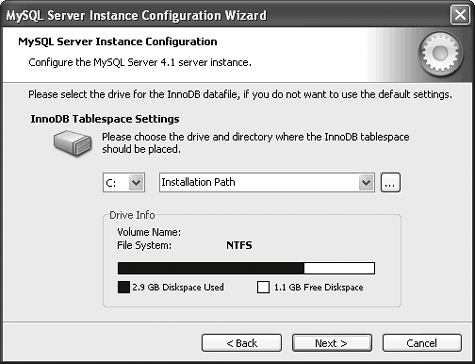
| 6. | In the next pane, set the number of concurrent connections and click Next to continue (Figure 10.11).
Figure 10.11. Choosing the number of concurrent database connections. 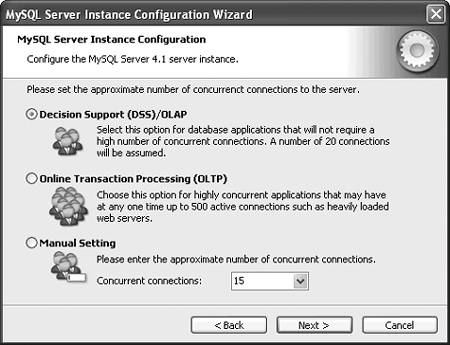
Choose Decision Support (DSS)/OLAP for up to 20 concurrent connections (the default), Online Transaction Processing (OLTP) for up to 500 concurrent connections, or Manual Setting.
| 7. | In the next pane, you can change the server's TCP/IP settings; click Next to continue (Figure 10.12).
Figure 10.12. Choosing the TCP/IP settings. 
By default, TCP/IP connections to the server are allowed on port 3306. You can disable this by unchecking the box (only local connections are allowed) or changing the port.
| 8. | In the next pane, choose Best Support for Multilingualism (UTF-8) for your default character set, and click Next to continue (Figure 10.13).
Figure 10.13. Choosing a default character set. 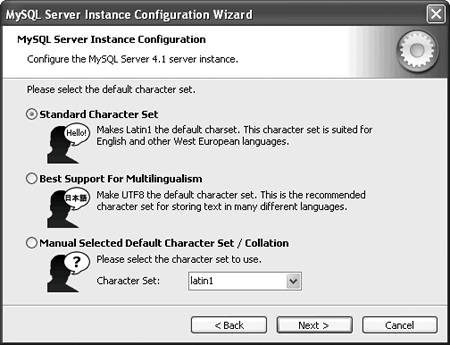
| 9. | The next pane lets you set the Windows service options, but we want the default options (install as a Windows service named "MySQL"), so click Next to continue (Figure 10.14).
Figure 10.14. Choosing whether or not to install MySQL as a service under Windows. 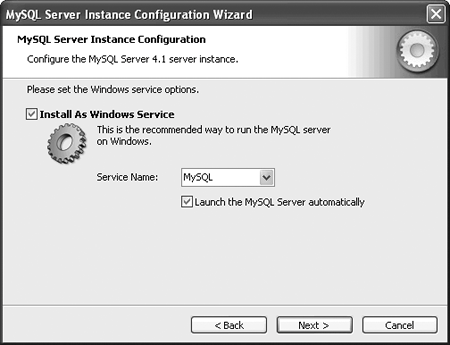
| 10. | In the next pane, enter a password for the root account in the "New root password" field, then enter it again in the "Confirm" field to verify the password (Figure 10.15).
Figure 10.15. Setting a password for the database's root account. 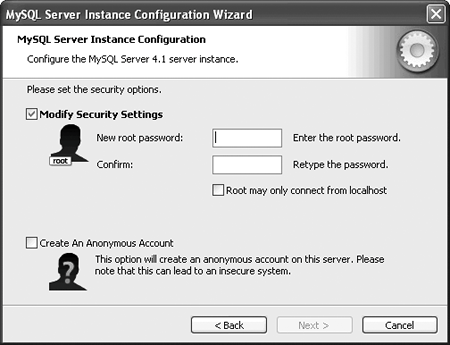
Note that this database user is specific to MySQL and has no interaction with your operating system.
| 11. | Check the "Root may only connect from localhost" box to prevent root from accessing the server remotely, and click Next to continue.
| 12. | In the next pane, click Execute to configure the server with your chosen settings (Figure 10.16).
Figure 10.16. Applying the configuration changes to the database server. 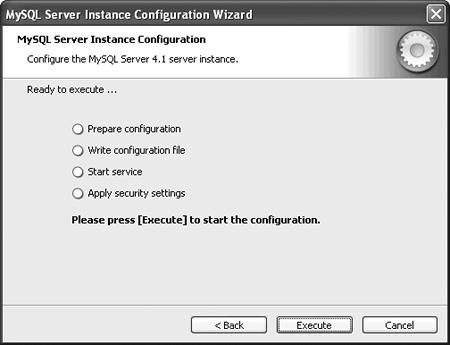
The things that look like radio buttons in this pane are actually progress indicators, so you don't need to choose anything here.
| 13. | In the last pane, click Finish to exit.
|
To install MySQL (Mac OS X) Use Fink to install MySQL on Mac OS X (Code Listing 10.3). 1. | fink install mysql mysql-client
Tell Fink to install MySQL and the MySQL client applications.
| 2. | Enter your password at the Password prompt, then press Enter to continue.
Fink downloads and installs MySQL and its client applications.
| 3. | If Fink prompts you with "Do you want to continue? [Y/n]," press Y, then press Enter to continue.
Fink downloads and installs MySQL and its client applications.
Code listing 10.3. Installing MySQL with Fink on Mac OS X. bender:~ chrish$ fink install mysql mysql-client Password: Information about 1977 packages read in 1 seconds. The following 2 packages will be installed or updated: mysql mysql-client The following 3 additional packages will be installed: libtool14 libtool14-shlibs mysql12-shlibs Do you want to continue? [Y/n] . . . bender:~ chrish$ cd /Library/StartupItems bender:~ chrish$ sudo mkdir MySQL bender:~ chrish$ cd MySQL bender:~ chrish$ sudo ln -s /sw/share/mysql/mysql.server MySQL bender:~ chrish$ vi StartupParameters.plist . . . bender:~ chrish$ sudo ./MySQL start bender:~ chrish$ mysqladmin -u root password 'new-password' bender:~ chrish$ mysqladmin -u root -h $(hostname) password 'new-password'
| 4. | cd /Library/StartupItems
Change to the local startup-items directory.
Code listing 10.4. The StartupParameters.plist file for MySQL on Mac OS X. { Description = "MySQL database server"; Provides = ("Database Server"); Requires = ("DirectoryServices"); Uses = ("Disks", "NFS"); OrderPreference = "None"; }
| 5. | sudo mkdir MySQL
Create a directory named MySQL as root.
| 6. | cd MySQL
Change to the MySQL directory you just created.
| 7.
sudo ln -s /sw/share/mysql/ mysql.server MySQL
Since the mysql.server script that gets installed with MySQL works as a startup script, we'll create a symbolic link to it, named "MySQL."
| 8. | Use your favorite text editor to create a StartupParameters.plist file (see Code Listing 10.4 for its contents). Save the file, then exit your text editor.
Note that you need to do this as root; if you can't start your editor with sudo, you'll need to create the file somewhere else and then use sudo cp to copy it here.
| 9. | sudo ./MySQL start
Start the MySQL server.
| 10. |
mysqladmin -u root password 'new-password'
Change the MySQL root user's password to new-password. Note that MySQL users are separate from your operating-system users.
| 11. |
mysqladmin -u root -h $(hostname) password 'new-password'
MySQL also has a second root account for access from the local host's hostname or IP address. Here the hostname command is called, and its output is used as the -h argument. Again, we set the root user's password to new-password.
|
|