Changing a Photo s Colors
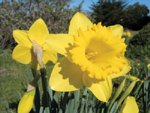
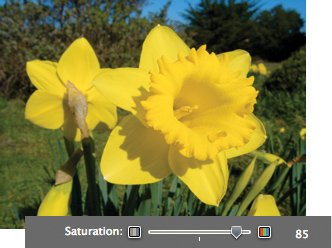
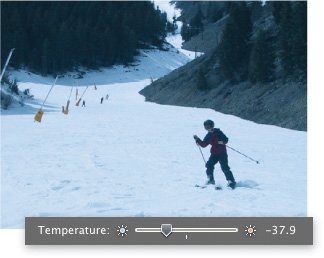
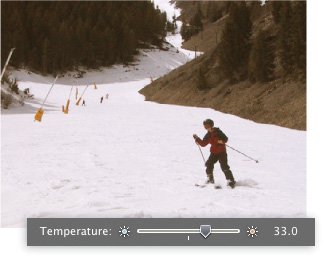
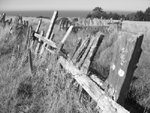
Changing a Photo's ColorsThe Adjust panel lets you perform several types of color-related adjustments. With the Saturation slider, you can adjust the vividness of a photo's colors. Turn down the saturation to create a muted look or to compensate for a camera's overly enthusiastic built-in color settings. Or turn up the saturation to make a photo's colors more intense. With the Temperature and Tint sliders, you can change a photo's color balance. Fix a color cast introduced by artificial light or caused by fading film. Or create a special effect to make a photo feel warmer or colder. How can you tell if the colors you see on your screen will accurately translate to an inkjet or photographic print? Advanced Photoshop users rely on display-calibration hardware and other tools to calibrate their systems so that displayed colors match printed colors as closely as possible. You can apply this strategy to iPhoto. Or you can take a simpler approach. First, calibrate your screen using the Displays system preference. Second, if you'll be creating your own inkjet prints, make test prints as you work on a photo, duplicating the photo as necessary to get different versions. Adjusting Color Saturation To make a photo's colors more vivid, drag the Saturation slider to the right. To make colors more muted, drag the slider to the left. Original Increased Saturation Decreased Saturation Tips Pale and pastel. To give a pastel-like quality to a photo's colors, decrease the saturation. Going gray. If you drag the Saturation slider all the way to the left, you create a grayscale version of the photo. Generally, the B&W button does a better job, but experiment and see which version you like best. Watch your gamut. If you significantly increase a photo's saturation, you probably won't be able to print a version that matches what you see on screen. Printers have a much narrower color range, or gamut, than does the Mac's screen. Adjusting Color Balance To adjust a photo's color balance, use the Temperature slider, the Tint slider, or both. Temperature. The Temperature slider adjusts a photo's color temperature. To make a photo appear cooler (more bluish tones), drag the slider to the left. To make a photo appear warmer (more yellow/orange tones), drag the slider to the right. Original Cooler Warmer Tint. The Tint slider adjusts red/green color balance. If you drag the slider to the left, iPhoto adds red, making a photo appear less green. If you drag the slider to the right, you add green and lessen the amount of red. The Tint slider can help remove the greenish color cast that you may find in photos taken under fluorescent lighting. Colorful Tips Temperature Tips. Photos taken under incandescent light with your camera's flash turned off tend to have a yellowish cast to them. I like this warm look, but if you don't, try dragging the Temperature slider to the left to cool things off. If the corrected image looks dark, bump up the Exposure slider. You can often simulate different lighting conditions by shifting a photo's color temperature slightly. Warm up a photo to simulate late afternoon sun, or cool it down to simulate shade or twilight. Old color photos often take on a reddish-yellow appearance as their color dyes fade. To fix this, drag the Temperature slider to the left a bit. Gray Balancing. If you have an off-color photo containing an object that you know should be gray, Better Black and White iPhoto's B&W effect does a good job of converting a color photo to black and white, but you can often improve on its efforts: after clicking B&W, adjust the Saturation, Temperature, and Tint sliders. When you drag the color sliders after converting a photo to black and white, iPhoto blends the photo's red, green, and blue color channels in different ways. To make a black-and-white photo appear richer, bump up the saturation after clicking the B&W button. While you're experimenting, drag the Temperature and Tint sliders to see how they alter the photo's tonal values. (For you film fogies, this is the digital equivalent of exposing black-and-white film through color filters.) After Clicking B&W Button After Adjustments 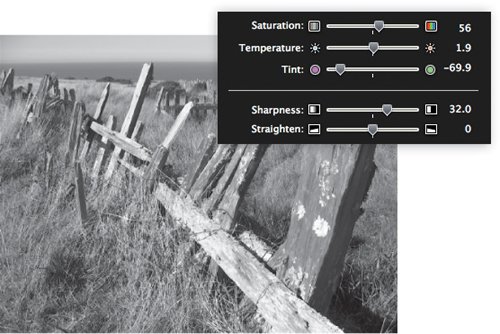 |