Section 3.5. The File Server Resource Manager
3.5. The File Server Resource ManagerWindows Server 2003 R2 includes the File Server Resource Manager, an integrated console that contains various tools and reporting functions so that you can determine, control, and administer the amount and kind of data stored on your file servers. FSRM provides a single and convenient place for you to configure quotas on folders and volumes, screen for unacceptable types of files, and generate comprehensive reports on exactly where your disk space is going. Figure 3-13. Entering a new disk quota entry To install the FSRM , you'll need to install the R2 components on the accompanying product disc. Then, from Control Panel, use the Add/Remove Programs applet, choose Windows Components, and under Management and Monitoring Tools, choose the File Server Resource Manager. Click Next and then Finish, and Windows will install the tool for you.
To launch the FSRM, simply choose it from the Administrative Tools menu. The default console looks like Figure 3-14. Figure 3-14. The File Server Resource Manager console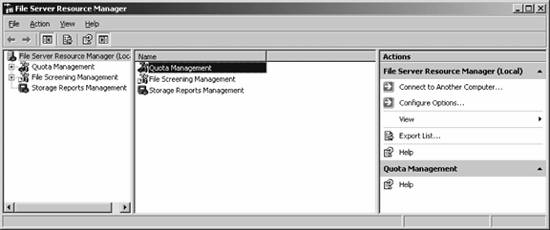 3.5.1. Configuring the FSRMThe first step in using the FSRM is configuring some options that will be used by the console. In the Actions pane, click the Configure Options link, and you'll see a screen like Figure 3-15. Figure 3-15. Configuring FSRM options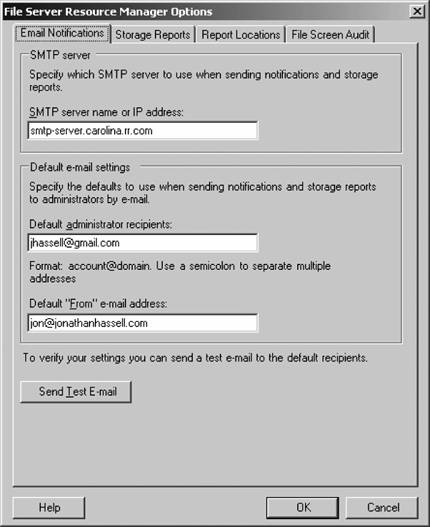 The FSRM is designed to send email alerts and reports via email; on the Email Notifications tab, enter the outgoing SMTP server (either through an installed SMTP service on the local machine or another mail server provided either by your organization or your ISP), and the To and Figure 3-16 shows the Storage Reports tab. Figure 3-16. The Storage Reports tab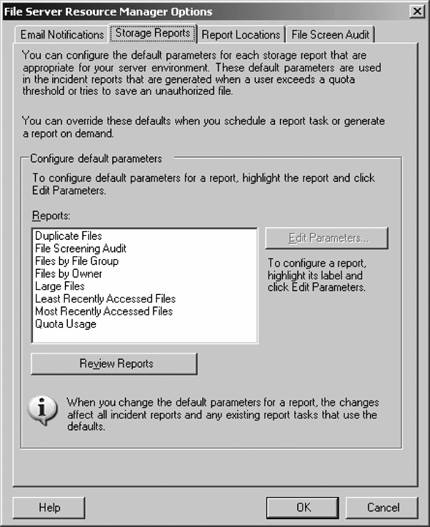 On this tab, you can specify your preferences for each report that can be generated by the FSRM. For example, if you highlight the File Screening Audit report and click the Edit Parameters button, you'll be able to select which users are included in the report. To take a look at all of the parameters for the reports, click the Review Reports button. The defaults work pretty well here, but as you'll see as we dig further into the FSRM, you may want to alter these slightly to customize the reports for your environment. Figure 3-17 shows the Report Locations tab . On this screen, choose where to save each type of report that the FSRM can generate. You can store them either on the local drive or on a network volume. Figure 3-18 shows the File Screen Audit tab . Figure 3-17. The Report Locations tab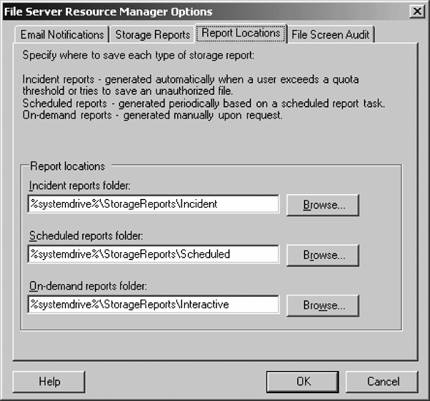 Figure 3-18. The File Screen Audit tab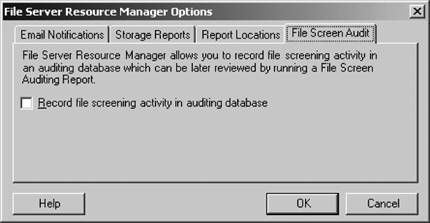 Here, you can tell the FSRM whether or not to log screening activity in the auditing database. If you don't intend to use file screening reports, then clearing this checkbox will give you a slight performance improvement since the extra logging isn't required. 3.5.2. Configuring Quotas with the FSRMIt's more straightforward to configure quotas using the FSRM, as the interface is cleaner and the rules a bit more flexible. Using the FSRM, you can create quotas for specific folders or volumes and configure the notifications generated by Windows when those quotas are exceeded. I've covered that scenario in the previous section in this chapter on quotas. But FSRM takes it a couple of steps further by allowing you to customize "auto quotas" that automatically apply to both existing and future folders, and define quota templates that can be used anywhere in an organization's IT infrastructure. Let's start off with simply applying a quota to a single folder. To do so, within the FSRM, double-click the Quota Management item in the middle pane, and then double-click on Quotas. From the right pane, click the Create Quota link. You'll see a screen much like Figure 3-19. Figure 3-19. The Create Quota screen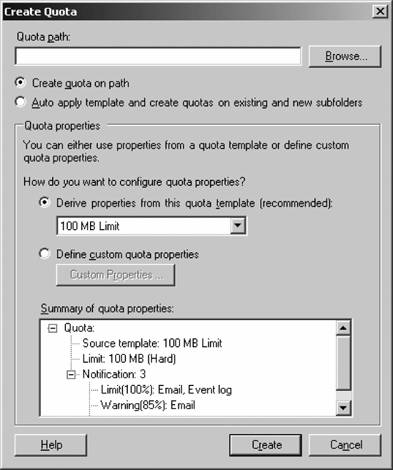 Enter the path to the folder in the top box, or click Browse to find it graphically. Select Create quota on path, and then choose either a preexisting template, which offers some preconfigured limits, or choose the Define custom quota properties option and click the Custom Properties button. If you select the latter option, you'll be prompted with the Quota Properties screen, where you can enter the space limit, define whether the quota is hard or soft, and add different notification thresholds. Click OK when you're done, and the summary window on the Create Quota screen will show your selections. If all looks well, then click Create, and the quota placement is complete. That process works well for one-off quota needs, but suppose that you want to centralize quota management across all folders and volumes. The best way to do that is to use the quota template facility with FSRM. By applying quota templates to folders, you can simply make one change to the template's configuration, and all folders to which that template has been applied will reflect the change. Think of it as having a "group" of quotas to make administration simpler. To make a quota template, double-click the Quota Management item in the middle pane of the FSRM and then double-click on Quota Templates. From the right pane, click the Create Quota Template link. You'll see a screen much like Figure 3-20. In the top drop-down box, you can select an existing template and copy the settings from it into the new template you're creating, which is a great timesaver when you need to make just a few minor changes. Otherwise, enter the template name, a friendly name if you wish, and then select the space limit and the severity of the limit. You can also configure the specific thresholds for notification when users hit a quota. Click Add to define a new notification; you will see the Add Threshold screen appear, as shown in Figure 3-21. Note the first box, called "Generate notifications when usage reaches (%)." In this box, specify the actual threshold at which the action you're going to define on these screens will take place. Now, the most common notification administrators send is an email message, both to the user who exceeded the limit and to the administrator himself. On the E-mail Message tab, you can check to whom to send such messages, and also change the text of the message. On the Event Log tab, you can customize the text of a warning event that will be sent to the Event Log, and on the Command tab you can define a script or program that will be run when a user exceeds the threshold you set. Finally, on the Report tab, you can tell the FSRM to automatically generate a storage report (covered a bit later in this section) when the quota is exceeded. Each of these tabs has a straightforward interface. Click OK when you've finished, and then OK again to finish creating the template. Once the template is in place, you can use it to apply quotas to specific folders. Then when you need to increase the quota on all folders using a given template, for example, you can simply edit the space limit field within the template definition, and all folders will then reflect the new limit. Figure 3-20. The Create Quota Template screen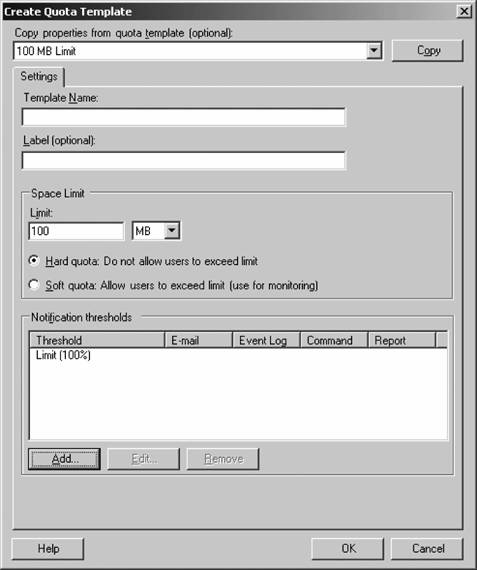 3.5.3. Screening for File TypesAnother useful capability of the FSRM is the ability to screen for certain file types and prevent them from being stored on your file servers. If your storage resources are limited and space is at a premium, there probably isn't a legitimate reason to store tons of MP3 and WMA files within your user's home directories. Even if you have plenty of "first line" space, these files are probably part of your backup set, and if they are you're likely needlessly wasting precious backup media storing the latest Mariah Carey CD in an off-site location in case disaster strikes. File screening can help keep this type of waste to a minimum. Figure 3-21. The Add Threshold screen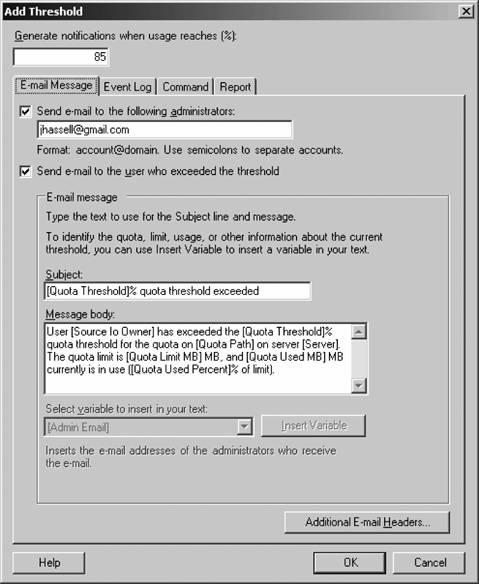 FSRM is pretty flexible. For example, it allows for the following scenarios:
Like quotas, the file-screening feature offers the capability to create file groups, which are simply collections of file extensions with like characteristics (for example, a media file group would contain MP3, WMA, OGG, and others) that can be used to specify included or excluded files in a particular screen, and file screening templates, which are ready-to-use rules for screening different types of files. Again, by using templates extensively, you can make changes to all servers using file screening with just one or two modifications to the template. 3.5.3.1. Defining a File GroupYou can define a file group within the FSRM. To do so:
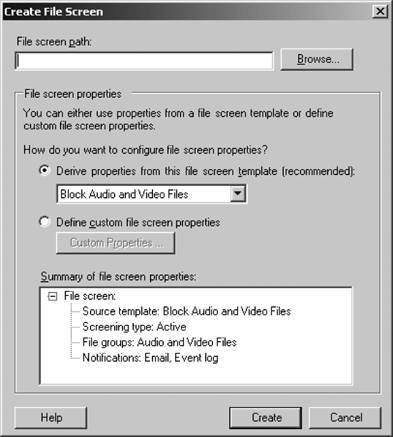
3.5.3.2. Creating a File ScreenTo create a single file screen:
Note that when you're creating a "one-off" file screen, you have the option to save it as a file screen template, meaning that (a) it can be reused later if you need to apply the same settings to a different target and (b) FSRM remembers the link between the target of your one-off screen and the newly created templatein essence, it creates the template and then applies the screen, so you get the advantages of template use. 3.5.3.3. Creating an exception to a screenA file screen exception essentially overrides any screening that would otherwise apply to a folder and its subfoldersit basically blocks rules derived from a parent folder. You can't, however, apply an exception to a folder that already has a file screen applied: you need to either apply the exception to a subfolder or make changes to the existing screen. To create an exception to a screen:
3.5.4. Generating Storage ReportsThe FSRM includes a great facility to get a picture of exactly how your storage is behaving. You can look at trends in how your disk space is being occupied and see alerts and notifications of users who are going over quota or attempting to save files that are in violation of your file screening policies. You can schedule these reports to be generated automatically on a time rotation that you specify, or you can create ad hoc reports as you see fit. The following reports are available out of the box:
To generate an ad hoc report:
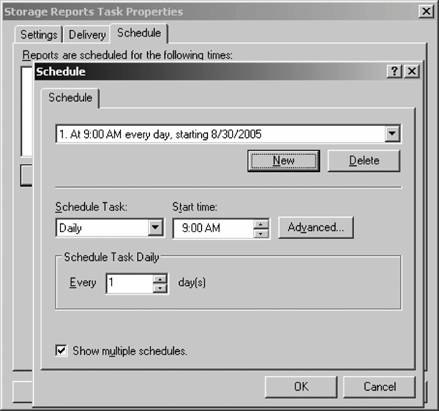
Figure 3-23. The Storage Reports Task Properties screen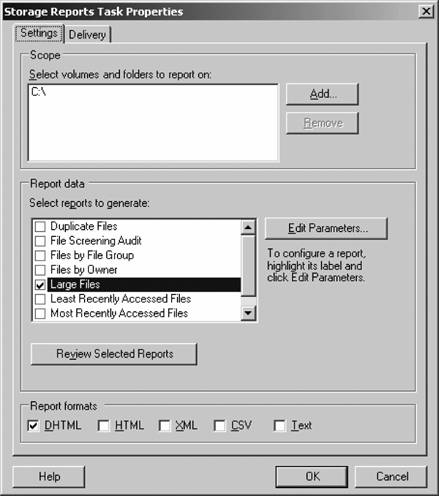 You can also schedule reports to be created, which allows you to monitor your storage resources on a regular schedule. To create a scheduled report:
|

EAN: 2147483647
Pages: 171